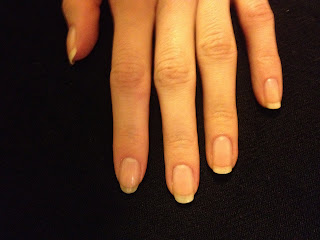
Valentine’s Day is just around the corner and I’m guessing you’re either super excited about it or hating the sole name of it. Whatever it may be, it can be used at least as a good inspiration. The other day I wanted to do my manicure that would be somehow love themed, but not classic pinky-hearty one. Petra gave me a cool idea – she told me to make a ladybird. So, I took her advice, transformed it a little and created a – love bug.
Everything is quite simple, but I made a short tutorial to make it even easier for you, in case you want to recreate this manicure. Here we go!
Step 1: File your nails if necessary and apply base coat.
Step 2: Color the tips of your nails in red, leaving out the ring finger.
Step 3: On the ring finger draw a dot-like shape with the red polish. You can use a nail-art brush if you have one, the largest dotting tool (although it could be too small) or the nail polish brush, which I’ve used. It doesn’t have to be big perfect. In case you don’t like it adjust it using q-tip dipped in nail polish remover.
Step 4: Using the smallest dotting tool and white nail polish draw small hearts in the corner of every nail. While drawing hearts, use stippling motion to avoid smudging the red polish. Put some white hearts on the red dot, but leave some space in the center part. Using a black nail polish and a dotting tool, draw a little black dot on top of the red one – that will be the head of the bug. With black nail polish (this time I suggest the one for nail art, that already has a slim and long brush) draw the line through the center and two tentacles. Apply top coat to make your manicure last longer and that’s it! :)
p.s. I’m sorry for the bad quality of the photos, but I took them with my phone as I couldn’t wait for Petra to get home. I should really start (ab)using her equipment. :)


No comments:
Post a Comment